Working in the AWS Command Line Interface to Auto Scale

In a prior Medium article, I documented how I configured and tested AWS Auto Scaling using the AWS Console. This time I’ll command AWS through the Command Line Interface (CLI) to set up an Auto Scaling Group (ASG).
Prior to the work, you’ll need to have the AWS CLI installed on your operating system. If you don’t have it you can download it here.
Enable Programmatic Calls to AWS through OS Terminal with a New User
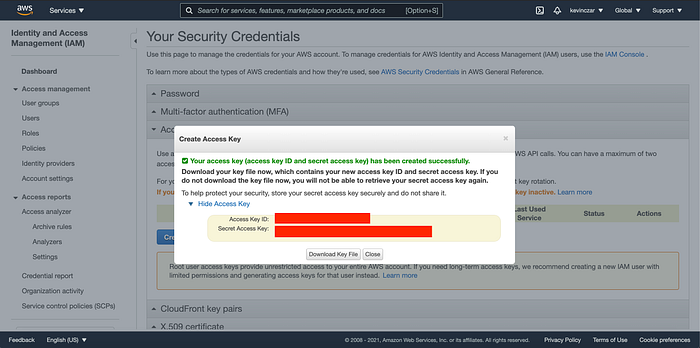
First I needed to gain access to AWS. I collected my access key & secret access key from My Security Credentials, which are blocked out in red in Image 1.
To gain access to AWS, I then went into my OS Terminal and ran the following command:
aws configure
As shown in Image 2, I was then prompted to populate my Access Key (again blocked out in red), my Secret Access Key (also blocked out in red), my default region (Northern Virginia), and output format (JSON).

I then wanted to quickly run a test command, so I ran the below command to confirm as shown in Image 3 that I was accessing my AWS environment because my S3 buckets were indeed listed out.
aws s3 ls

Then in Image 4 I created a new user named kevinczar2 using the following command:
aws iam create-user — user-name kevinczar2

I confirmed in the console that kevinczar2 was indeed created (Image 5).
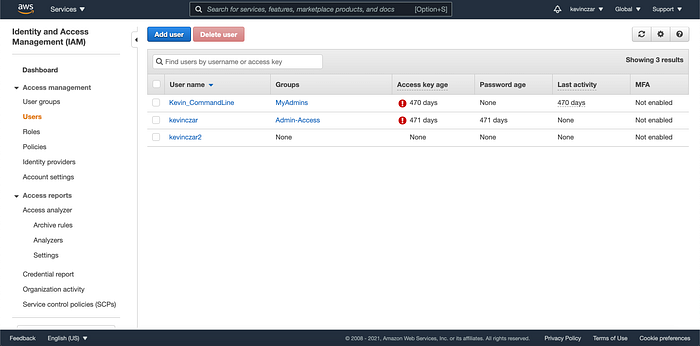
Then as shown in Image 6, I used the below command to add kevinczar2 to my Admin-Access group so that this user can hold the programatic privileges needed throughout this exercise.
aws iam add-user-to-group — user-name kevinczar2 — group-name MyAdmins

You can then see in Image 7 that kevinczar2 is now a user in the group MyAdmins.

Now, in order for the new user to do the work, I needed to configure the AWS CLI to allow for my new profile to operate. This involves editing the configurations and credentials:
~/.aws/credentials
~/.aws/config
When I cat these two out in Image 8, you can see they are still set to the default user which was set when we originally commanded aws configure in Image 2.

Therefore, I used the below command to configure the new profile:
aws configure — profile kevinczar2
I entered the information (Image 9), and then verified that it populated (Image 10).


Lastly, to utilize AWS Resources as kevinczar2, I entered the following command:
export AWS_PROFILE=kevinczar2
I used aws configure list to confirm that kevinczar2 was the user, I had the right configurations, and I had the right credentials (Image 11).

Run an EC2 Instance
Launching an EC2 instance requires the following pieces of information:
- Image ID of the AMI
- # of instances to launch
- instance type
- key name
- security group ID for VPC
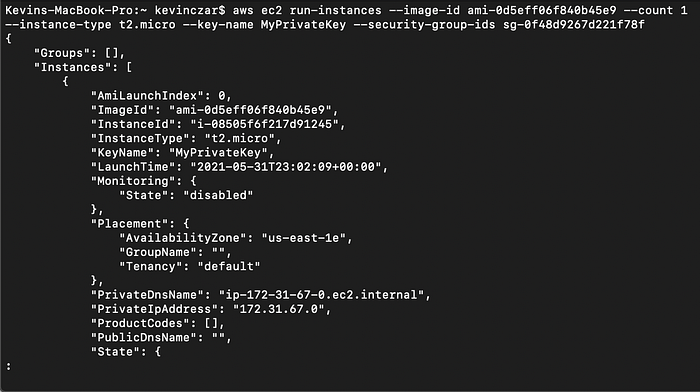
aws ec2 run-instances — image-id ami-0d5eff06f840b45e9 — count 1 — instance-type t2.micro — key-name MyPrivateKey — security-group-ids sg-0f48d9267d221f78f
Image 12 shows the launch from the CLI.
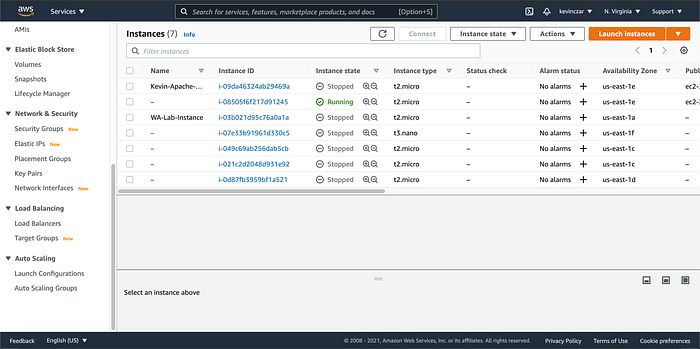
And Image 13 confirms in the console that the new instance is running.
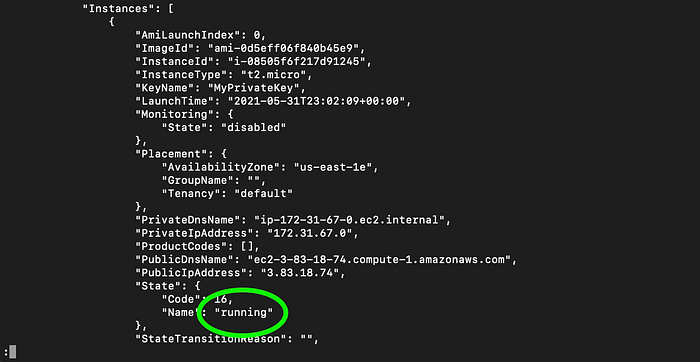
I also used the following command to print the descriptions of my instances:
aws ec2 describe-instances
I scrolled to the appropriate InstanceID to see in the CLI that indeed it was “running” (Image 14).
Create a Launch Template
I used the following command to create a launch template:
aws ec2 create-launch-template
As seen in Image 15, I used some of the information from the prior step including:
- Image ID
- Instance Type
- Security Group IDs

Create an ASG
I used the following command to create an Auto Scaling Group:
aws autoscaling create-auto-scaling-group
Note that I am choosing a minimum of 2 instances and a maximum of 5. Image 16 shows me entering the command with my unique information.

I then went to my EC2 Instances to see that the ASG is successful, as two new instances are running (Image 17). This can also be achieved in the CLI, as was done in in Image 14 with the command aws ec2 describe-instances.
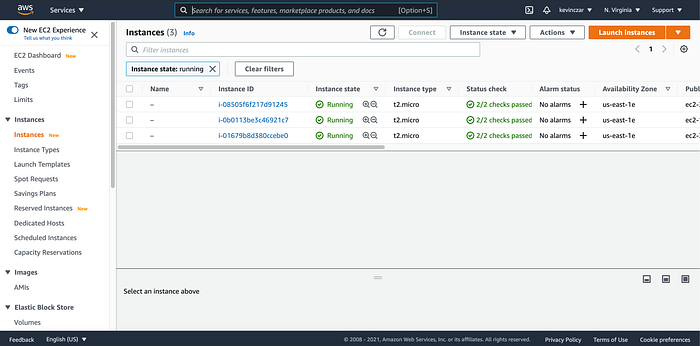
I also went to EC2>Auto Scaling Groups to see my new ASG was there (Image 18). Success!

I then proceeded to teardown what I built by deleting the ASG, EC2 instances, and launch template.
Much of the information I used concerning specific commands was found in Github/AWS/AWSCLI.


