Configuring & Testing AWS Auto Scaling

My plan was to establish highly available servers, and to ensure 0% downtime.
PART 1: Creating the instance & AMI Image
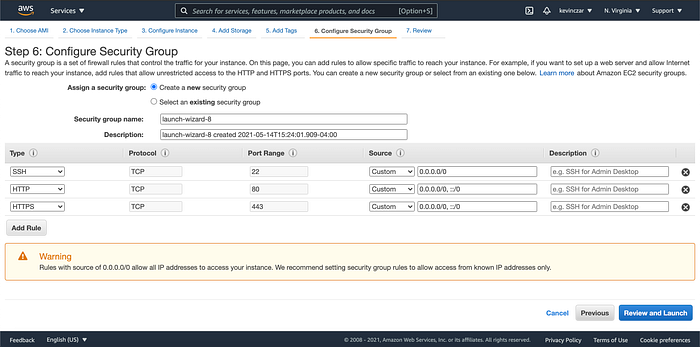
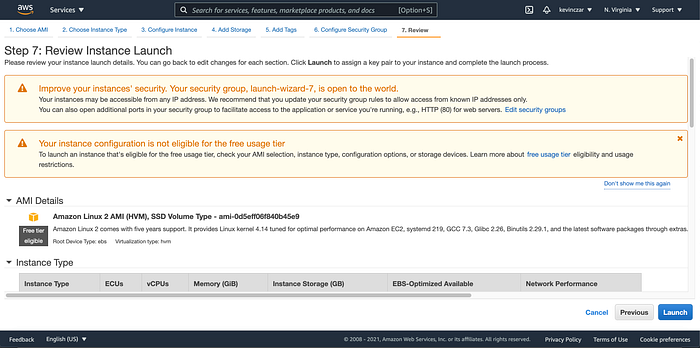
I went to the EC2 Dashboard (Image 1), selected AWS AMI (Image 2), selected t3 nano (Image 3), configured the Ec2 to enable auto-assigning public IP & ran Apache using the user data (Image 4 & 5), opened Port 80 & 443 in Security Groups, reviewed before launch (Image 7), and confirmed it was launched and running (Image 8).
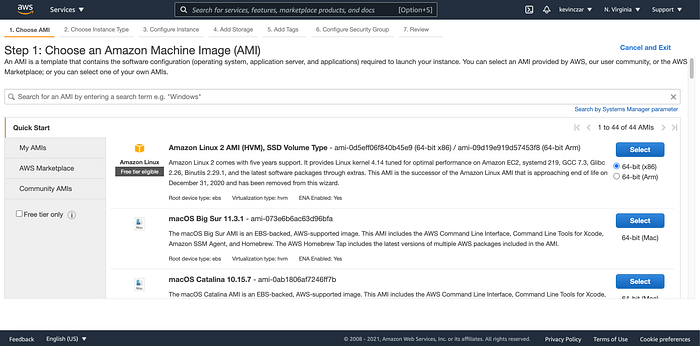
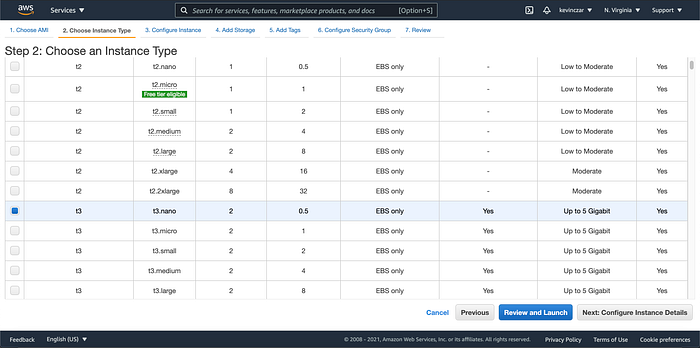
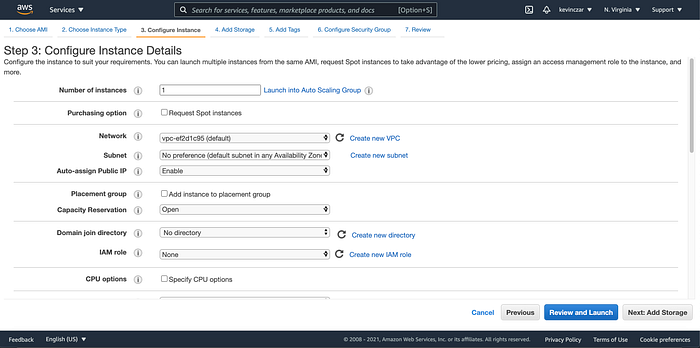
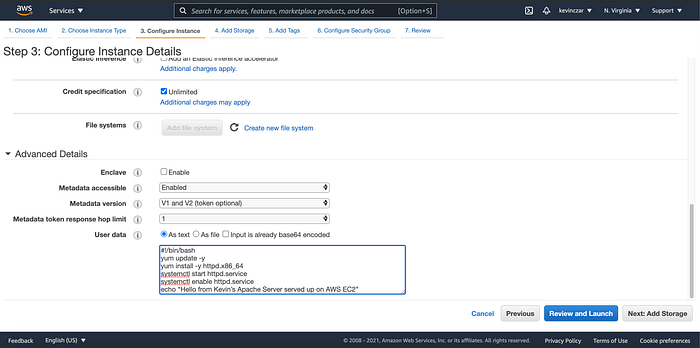

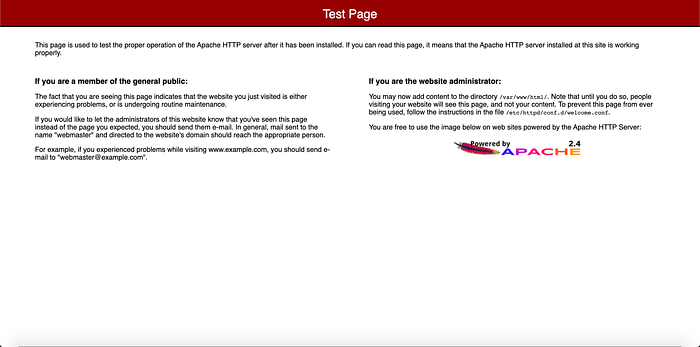
I also needed to test to confirm that Apache was successful, which it was as seen in Image 9.
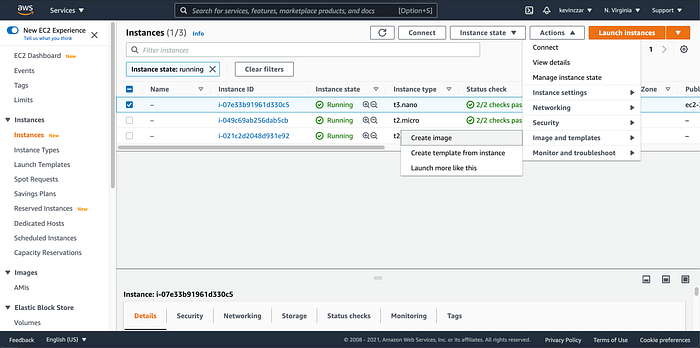
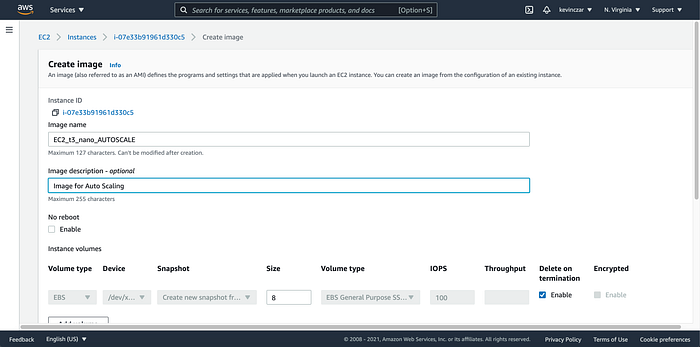
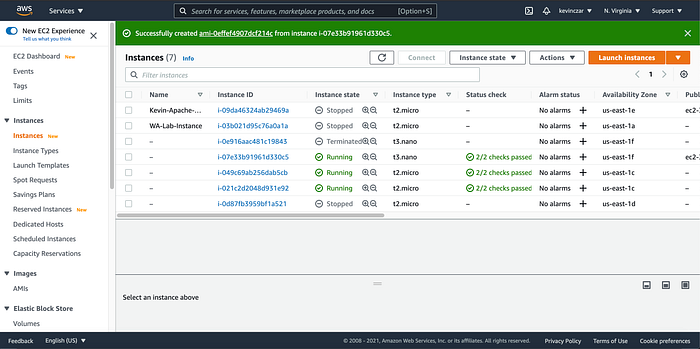
I then created an image of the AMI (Image 10–12), which will be used in the Auto Scaling process.
PART 2: Creating the Launch Template
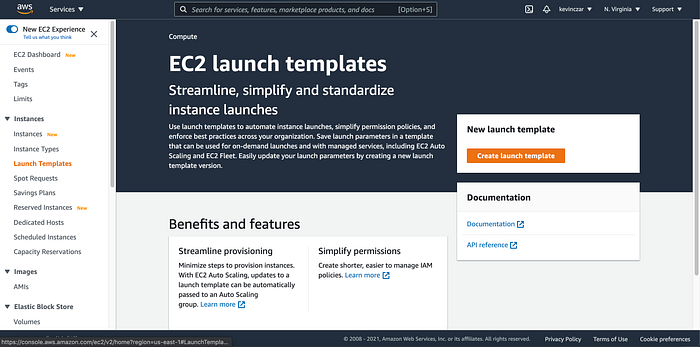
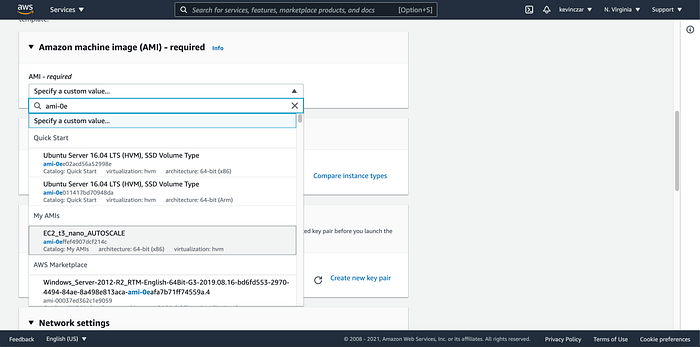
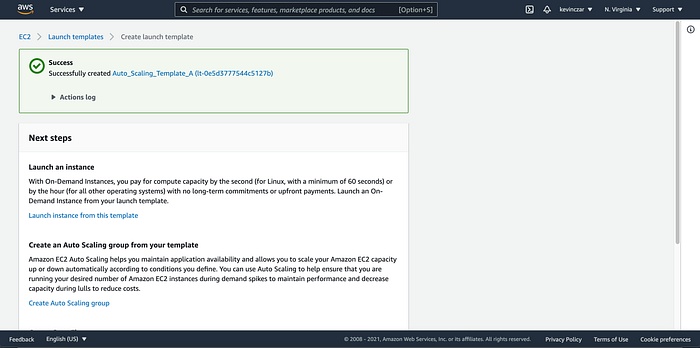
I went to Launch Templates on the lefthand side of the EC2 Dashboard (Image 13). During configuration, I named + described the template (Image 14), selected the AMI created in Part 1 (Image 15), and confirmed that it was created successfully (Image 16).

PART 3: Target Group
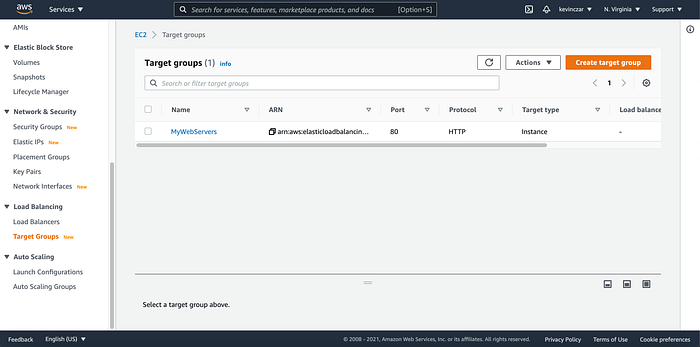
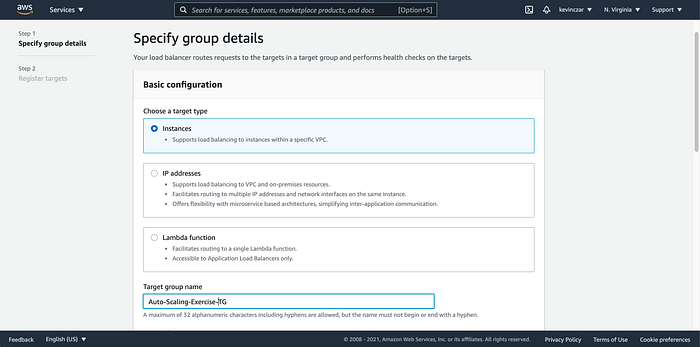
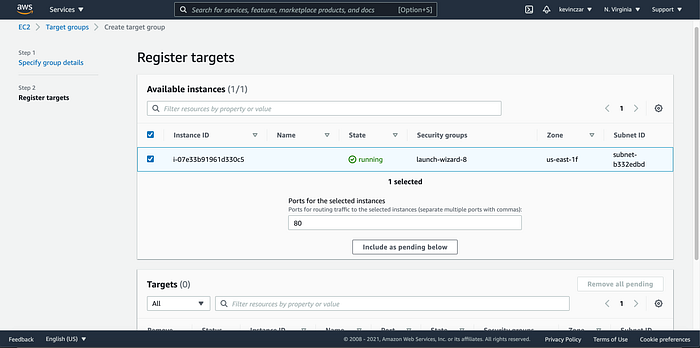
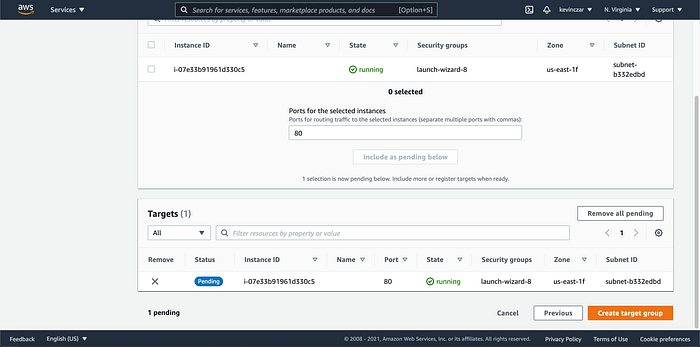
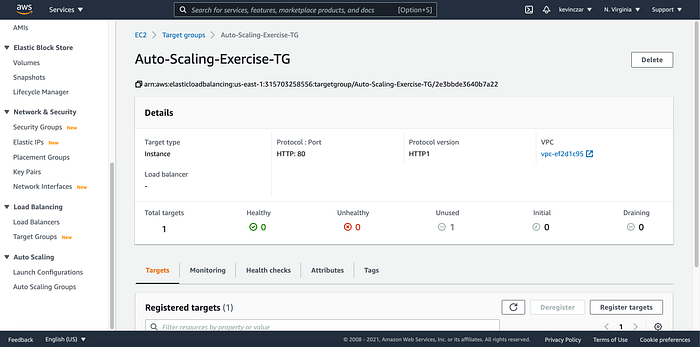
On the EC2 Dashboard’s lefthand side, I went to Target Groups (Image 17), then named the target group (Image 18), and then registered the EC2 created in Part 1 as the target (Image 19 & 20). I then opened the target group to see that it was successful & healthy. It was (Image 21)
Part 4: Auto Scaling Group
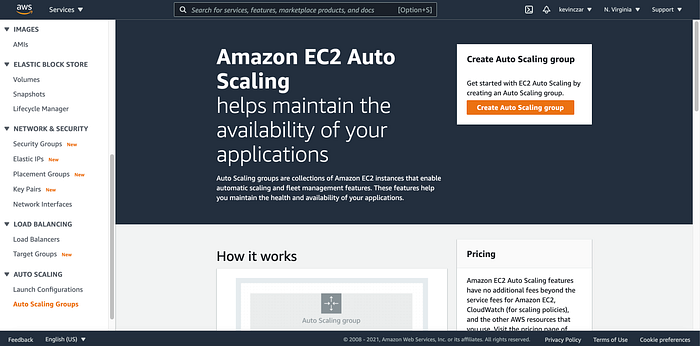
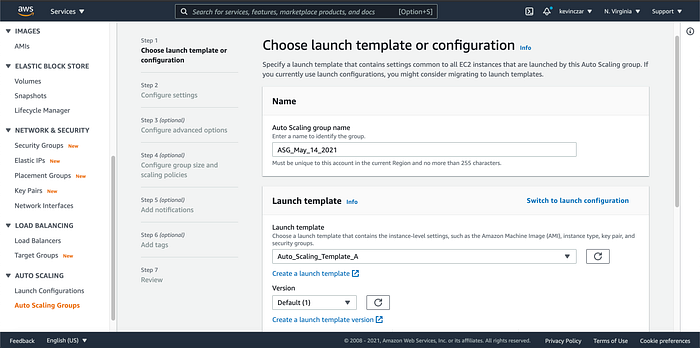
Again I navigated the EC2 Dashboard’s lefthand side, this time going to Auto Scaling Groups (Image 22). I then named the Auto Scaling Group & populated the target group from Part 3 (Image 23).
*Troubleshooting Event* — On the following page (Configuration Settings) I was stuck. After trying to advance, I received the following error:

My instance & AMI architectures were not matching. I had to seek resolution, and arrived at the following page on AWS:
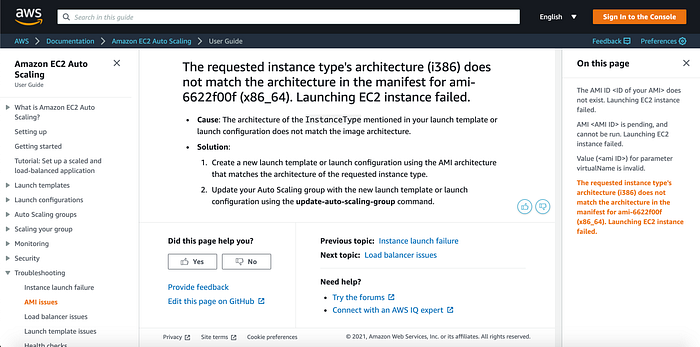
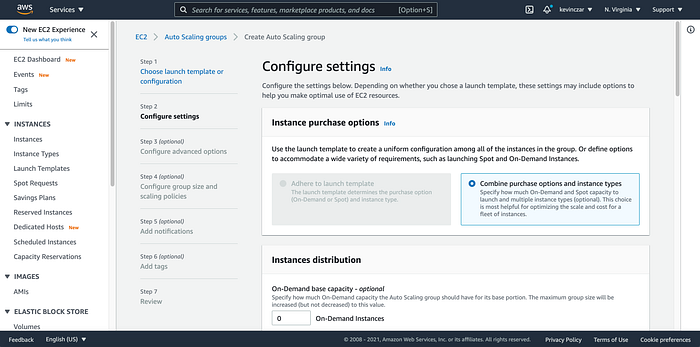
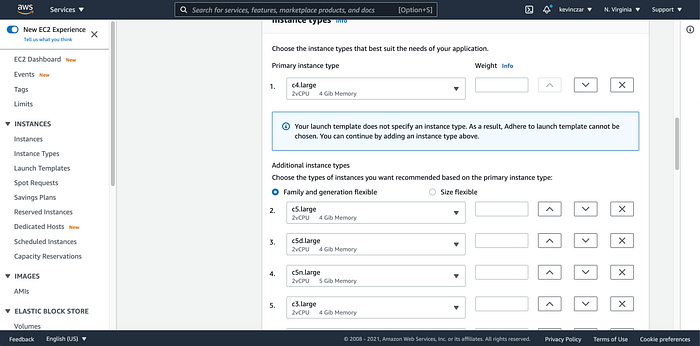
I then googled what architecture matches x86_64, and found that it was, and discovered that my options included c4 & c5. I was then able to complete the configuration settings (Image 24–26).

Then in Advanced Configuration Options, I attached a Load Balancer (Image 27)
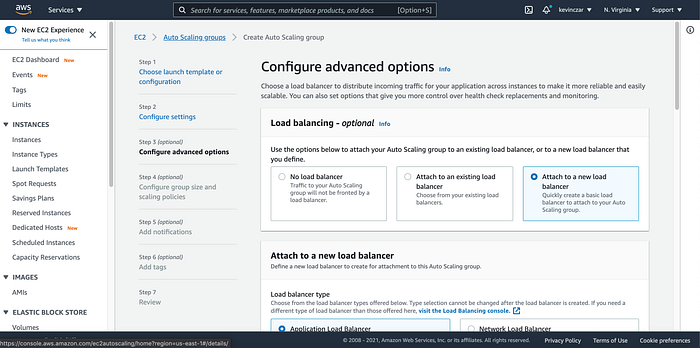
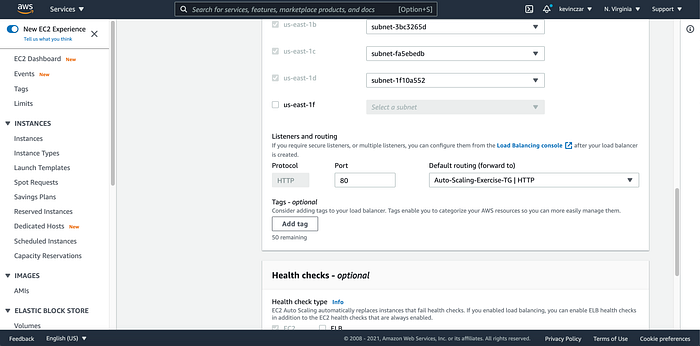
Also for I was sure to select my target group for my default routing (Image 28).
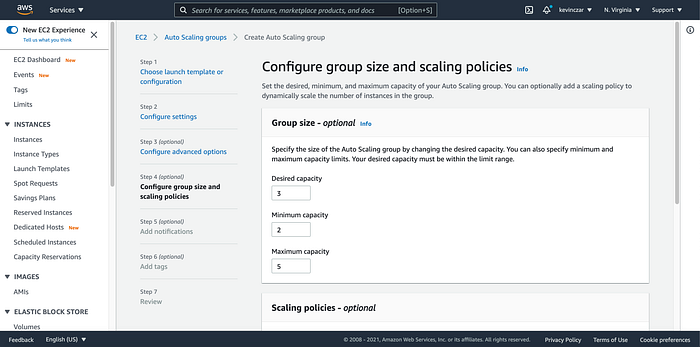
For configuring group size & scaling policy, I set my minimum, desired, and maximum capacity (Image 29).
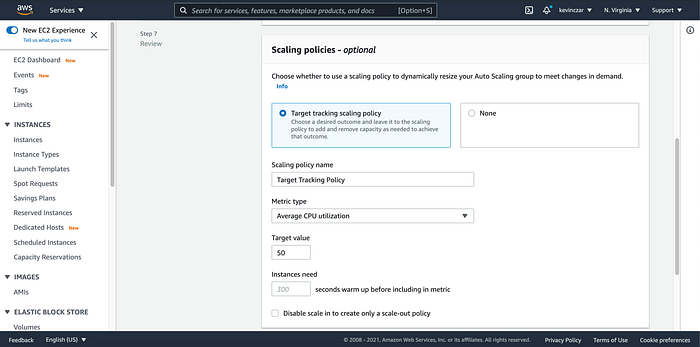
In Image 30 you can see I did select a tracking policy.
Next were notifications and tags setup, which for the purpose of this drill I elected not to designate.
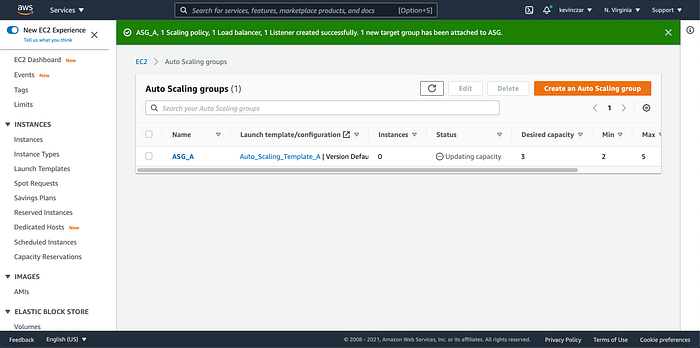
Lastly for PART 4, I confirmed that I successfully created the ASG (Image 31).
PART 5: Testing the ASG
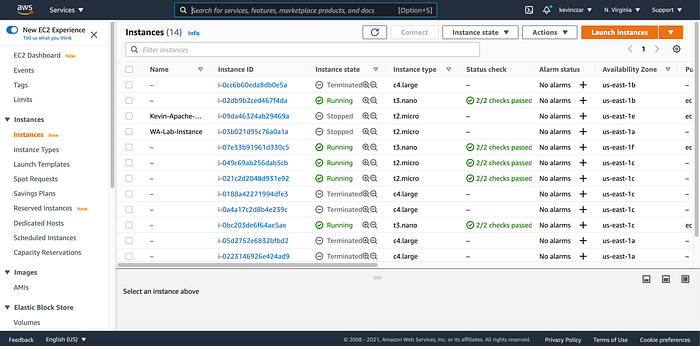
I returned the my EC2 dashboard, and confirmed that my t3.micro now had other instances (selected in Image 32).
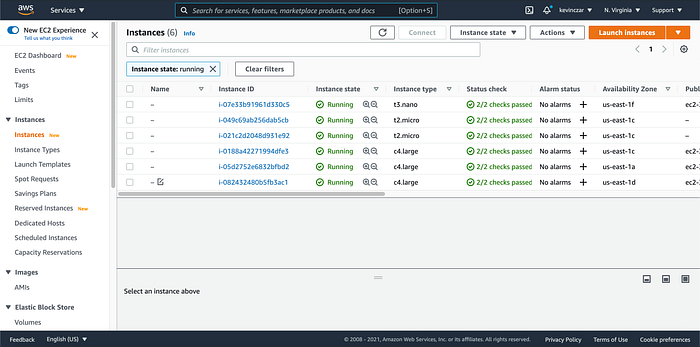
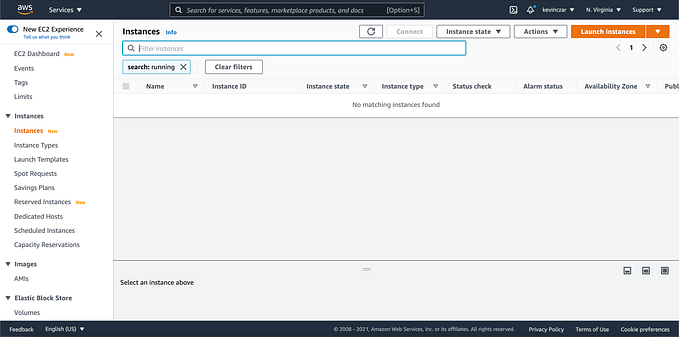
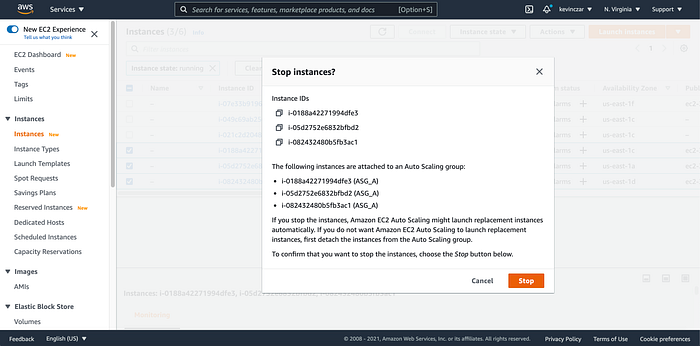
I then stopped a few instances and was informed that they are a part of an ASG (Image 33), and after the 300 seconds as designed in PART 4,
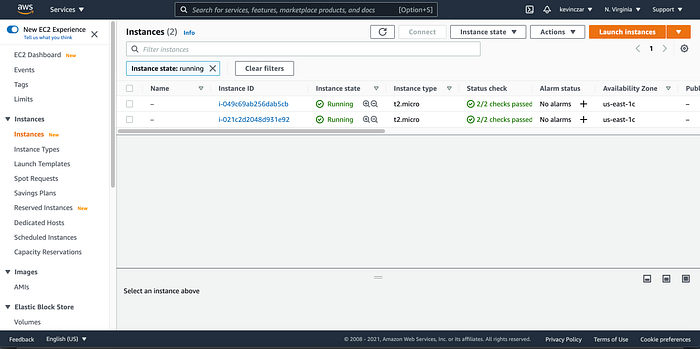
The new instances were successfully initialized in place of the stopped instances (Image 34).
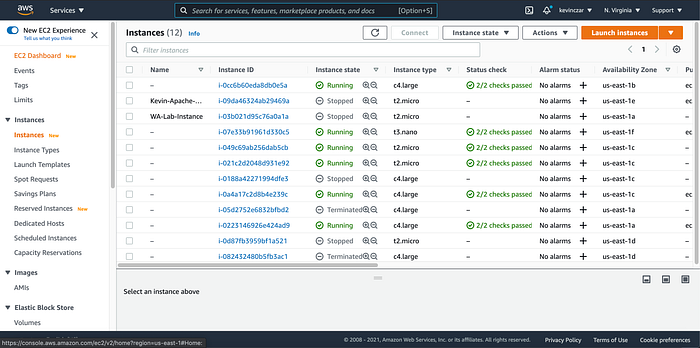
At this point the ASG was functioning & high availability was achieved in the environment, and with the load balancer the environment is prepared to handle increased traffic without compromising performance.
— — — — — — — — — —
Amendment:
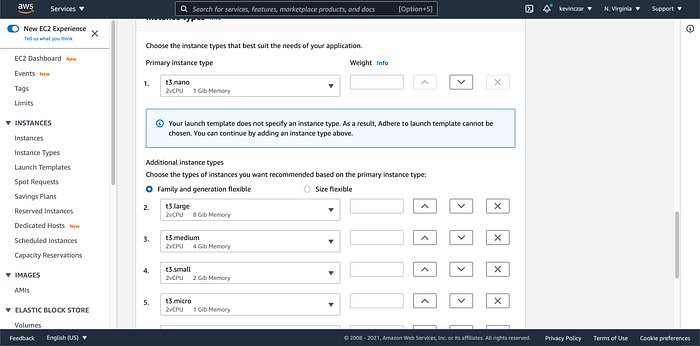
Please note, after the exercise, I improved on a decision that I had made during the exercise. Although the architectures for c4 and x86_64 match, I elected to amend my instance types to match the original EC2 instance of t3.Image 35–37 show this change below.
