Provisioning Amazon EKS Using Terraform Cloud with a Remote Backend

Amazon Elastic Kubernetes Service (EKS) is AWS’ service for deploying, managing, and scaling containerized applications with Kubernetes. Terraform Cloud is an application that manages Terraform runs & allows for automated deployments.
In this exercise, my plan was to provision an Amazon EKS cluster with Terraform Cloud, while meeting the following requirements: For the EKS Cluster, one worker group shall have a desired capacity of 2. Also, a random string shall allows 5 characters to build the cluster name. Next, we will output the cluster name and IP address of the containers in the cluster. Last, this work will be done in my Terminal with a remote backend controlling Terraform Cloud.
For this exercise, I needed:
- Github
- Terraform Cloud Account
- IDE (I used Atom. If using Atom, go here to install Terraform syntax package)
- AWS Account
- AWS CLI
Architecture
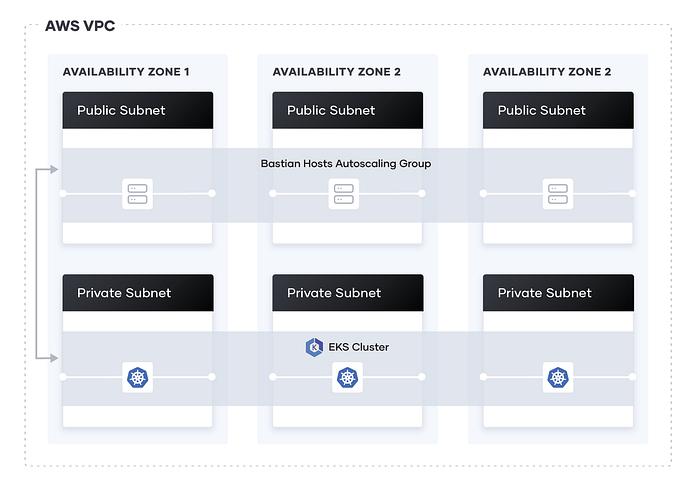
We want a scalable, highly available, and fault-tolerant architecture. As you’ll see in STEP 1, I fork a repo with the following files & subsequent architecture:
- vpc.tf will provision my VPC, subnets, and availability zones
- security-groups.tf will establish the security groups used by the EKS cluster
- eks-cluster.tf will provision the resources (ie Auto Scaling Groups) required to set up the EKS cluster
The resulting architecture is diagrammed below:
STEP 1: Set Up Terraform Cloud Workspace
In today’s exercise, some setup details may be abbreviated. For granular detail on setting up the Terraform Cloud Workspace please see Step 2 of my prior Terraform Cloud article, where I deploying a Two-Tier AWS Architecture.
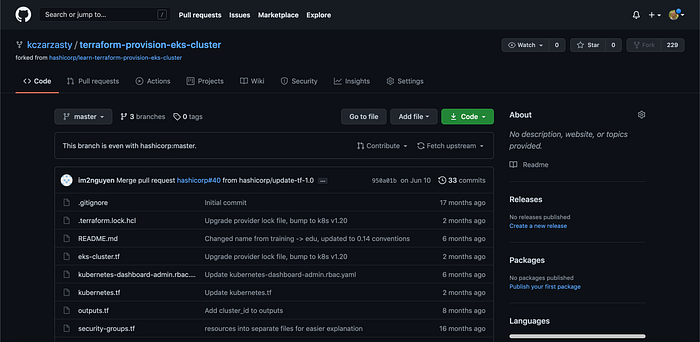
To configure today’s Terraform Cloud Workspace, I first forked HashiCorp’s EKS repository on Github. Image 2 shows the repo in my Github, which contains a couple important files not yet articulated in this article:
- outputs.tf will define the output configuration, which in this case
- versions.tf will sets the Terraform version to at least 0.14
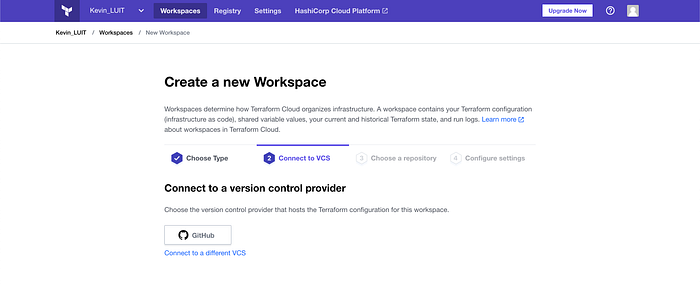
I then created a new Workspace, and connected to my Github (Image 3). Hereafter, I connected to the repo from Image 2, so that Terraform Cloud was pulling the relevant code from Github.
I then set my variables (Access Key, Secret Access Key, Default Region) with the completed variables seen in Image 4.

With that, my Terraform Cloud Workspace was set up.
Step 2: Setting up Remote Backend
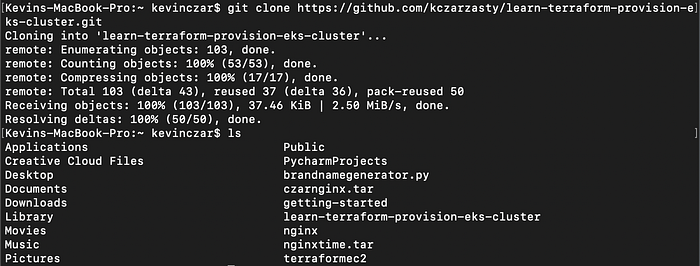
I then cloned the repository to my local environment, and then used the command ls to ensure that the repo was there, which it was (Image 5).
Now that my Workspace was set up & I had the repo cloned to my local environment, I was ready to set up my remote backend.
First I needed to ensure I had a user token created in Terraform Cloud. If you want to check if you have one, or if you need to make one, go here.
The token then needed to be put in a .terraformrc file in my home directory. I did this by making the file (Image 6), text editing the unique information in the following format:
credentials “app.terraform.io” {
  token = “<insert token here>”
}
Image 7 shows the content of the file (blocked out sensitive information).

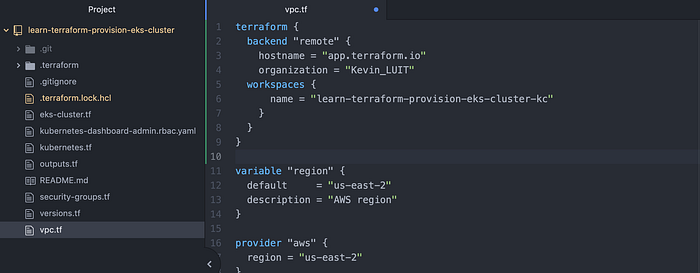
I then needed to write into my Terraform files that I would be remotely accessing, and to do this I pasted the below with my unique organization and workspace. I pasted this into vpc.tf in Atom (Image 8). Note this is for a single workspace and would be done differently for multiple workspaces, which you can read more about here.
terraform {
  backend “remote” {
    hostname = “app.terraform.io”
    organization = “<name of organization>”    workspaces {
      name = “<name of workspace>”
    }
  }
}
After saving the file, my remote backend was set.
STEP 3: Initialize, Format, Validate, Plan
I then ran terraform init -upgrade with the upgrade option to make sure all my provider versions were updated (Image 9).
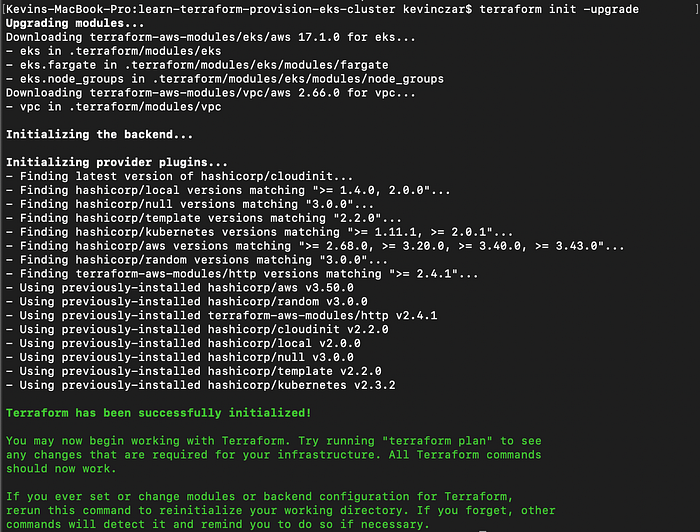
I then ran terraform fmt & terraform validate to ensure I was all set (Image 10).

I then ran terraform init -upgrade but received an error: “The “remote” backend encountered an unexpected error while reading the organization settings: unauthorized”
After some troubleshooting I arrived at this resource. I determined that API token being used in $HOME/.terraform.d/credentials.tfrc.json was an old API token, so I opened that file and re-wrote the current token.
I then successfully ran terraform init -upgrade. I then ran terraform fmt, terraform validate, and terraform plan. When I ran terraform plan, you can see that the remote backend was confirmed in yellow (Image 11).

However, my terraform plan was not successful, and I received an error suggesting something was off with my AWS provider credentials (Image 12).

I ran through a few possible mistakes on my part, but none of these were the guilty parties:
- I checked that my AWS credentials in were correct with the command aws configure. The credentials were correct.
- I checked that my AWS credentials did not have any irregular characters (I read that in some Terraform versions, credentials with a “+” for example are not well-received. This however was not the problem either.
- I also knew that my problem was not from a third party tool touching my credentials, such as Vault, because I wasn’t using such a tool.
- I also knew my AWS user had permissions needed to program these resources, so I knew AWS IAM was not the problem.
- Also I confirmed that my region in the Terraform configuration & my default AWS CLI region were the same (for this exercise both were us-east-2), so that wasn’t the problem.
- Also I checked that my AWS provider versions were up to date which they were, so that wasn’t the problem (Image 13).

This was admittedly one of the more laborsome troubleshoot sessions in recent memory…
I then tried something random. All the way back in Image 4, my environment variables in Terraform Cloud were named with lower cases. I re-wrote them and re-entered the variables, as seen in Image 14.

Sure enough, I received a successful terraform plan as you can see in my Terraform Cloud run in Image 15.
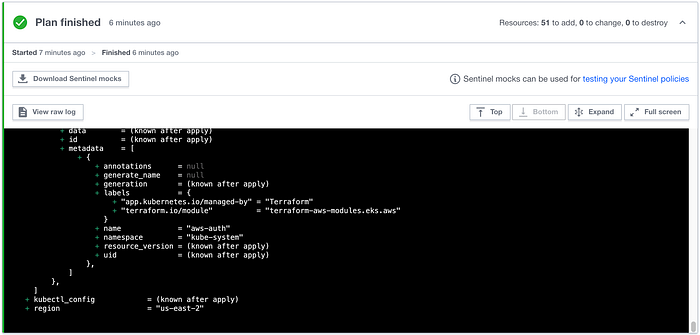
With that, I had completed STEP 3: Initialize, Format, Validate, Plan
STEP 4: Double Checking
Now before I actually run Terraform Apply and provision the resources, I wanted to double check my work and confirm that what we were building would definitely meet the requirements set out to me.
To recall from the introduction of this article, the requirements were:
- For the EKS Cluster, one worker group shall have a desired capacity of 2.
I was able to confirm this in my eks-cluster.tf file (Image 16).

- A random string shall allows 5 characters to build the cluster name
I had to change this one because in the repo I forked from HashiCorp, the value was 8. I amended it to 5 and saved vpc.tf where I’d made the change (Image 17).

- Output the cluster name & IP address of the containers in the cluster.
Here, both were already written into outputs.tf (Image 18). They are “cluster_name” and “cluster_endpoint.” The forked repo has other outputs as well.
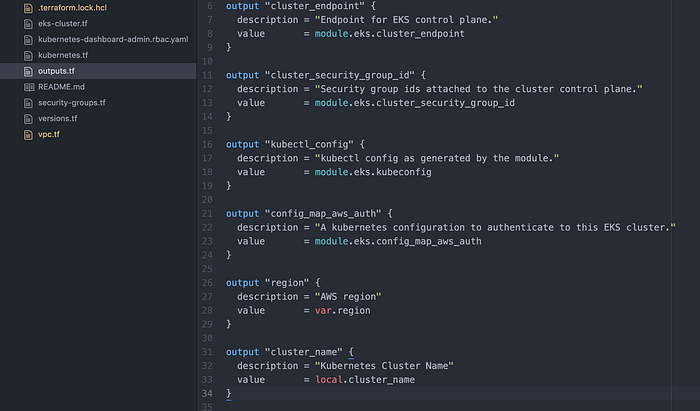
I was now satisfied that my work met the requirements, and I was nearly ready to provision the resources.
Step 5: Version Control
So far in this project, I’ve been working in my IDE (Atom) through a remote backend. A common use case for this would be if you are working on a team and want to have your respective environments for testing changes when editing and reviewing code.
This also means that when running a Terraform Plan from my Terminal as I did, this was a speculative plan. That is, I was testing changes for editing and code review, but I cannot use this method to remotely run Terraform Apply. The reason for this is that Terraform Apply must happen in Terraform Cloud, so we can guarantee that regardless of multiple team members are working on one project, we don’t compromise the integrity of our version control.
And so I now need to push my files to the Github, and then I’ll run the Terraform Apply from Terraform Cloud thereafter.
I ran git add -A & git status to stage the files (Image 19).

I then ran git commit -m “edit and add” to commit and confirm prep (Image 20).

I then ran git push origin HEAD to push to Github.

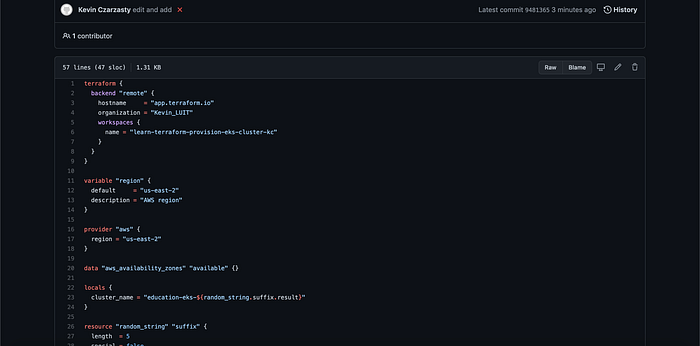
I then went to my Github and sure enough my changes were made. For example you can see in Image 22 that the vpc.tf file now has the remote backend.
STEP 6: Provision Resources
Automatically Terraform Cloud understood that the connected repo had changed (Image 23).

The plan ran automatically & successfully (Image 24). This is great because it lets me know that none of the changes to my Github have compromised my ability to run.

I was finally ready to provision the resources, so I ran Terraform Apply in Terraform Cloud. I patiently watched the log in Terraform Cloud (Image 25), and after 12 minutes Terraform Cloud indicated that it was a successful run (Image 26).
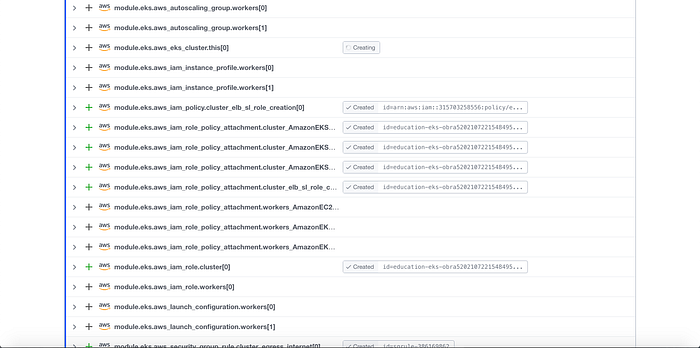

With that, the resources seemed to be provisioned, but in the next step I wanted to make sure they were provisioned.
STEP 7: Test
For the purposes of this exercise, I satisfied my testing by simply confirming in the AWS Console that my resources were provisioned. Images 26 & 27 show that indeed the cluster & VPC were there. Note the cluster has a random 5 character string at the end of the name, as this was one of the requirements.


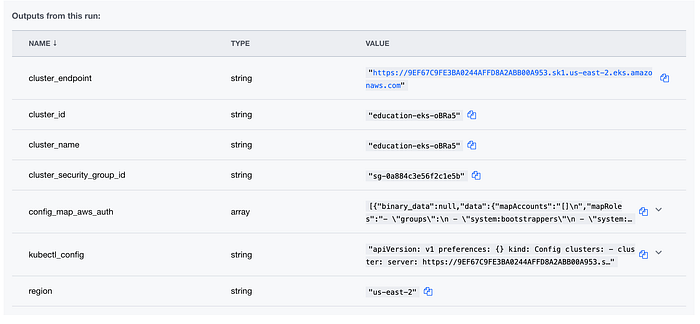
Also my outputs met my requirements of printing cluster names and addresses (Image 28).
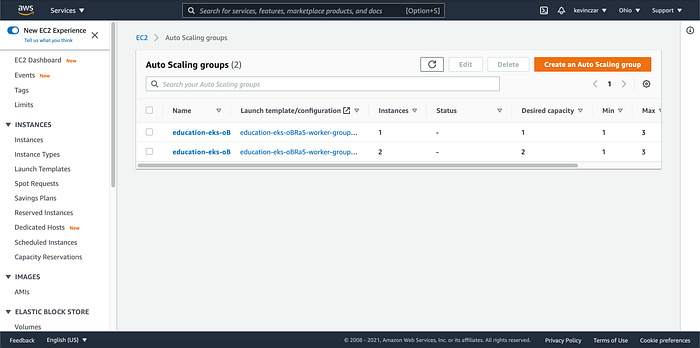
And lastly my architectural requirements were met as one worker group had a desired capacity of 2 (Image 29).
STEP 8: Destroy
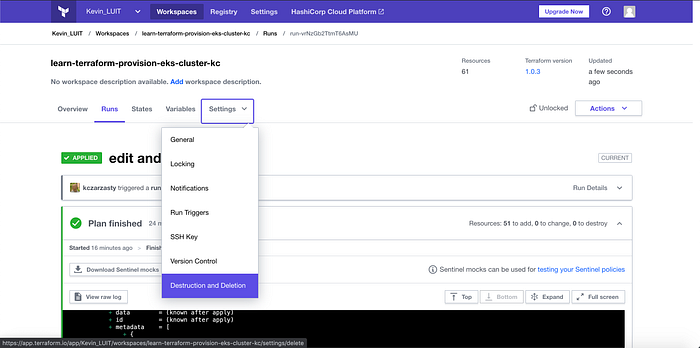
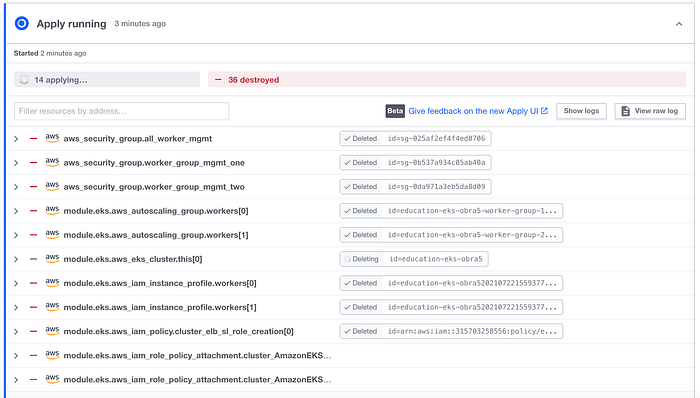
I was now ready to destroy what I’d built, and so I did so (Image 30–32).

Conclusion
In this exercise, I was genuinely stuck a couple times and needed to dig deep, exercise critical thought, use trial & error, and overall just really focus. I’m glad that I pursued this exercise because it gave me a great vision of how teams collaborate with remote backends & why version control matters.
Thanks for reading.
Credits: I was pointed in the direction of this exercise through my training course, LUIT. My most key resource HashiCorp’s Provision an EKS Cluster (AWS) tutorial. Also “Pablo’s Spot” Youtube channel, Episode Infrastructure as Code: Terraform Cloud as Remote Backend helped with the remote backend.
