Building a Custom EC2 Module with an Amazon Machine Image Using Terraform

In Terraform, modules are blocks containing multiple resources being used together. Modules allow you to feed information and other “child” modules into a “parent” module, though “parent” modules cannot be fed into “child” modules. In this exercise, we will make a custom module so that a standardized EC2 instance with an Amazon Linux 2 AMI can be easily reproduced and adjusted in the future.
Using modules in Terraform is great, but one should be cautious of over-using modules because it can be challenging to understand and maintain an unorganized or redundant family of modules.
For this exercise, I needed:
- My Github
- Terraform
- AWS CLI
- IDE of choice (I used Atom)
STEP 1: Fork & Clone Repo
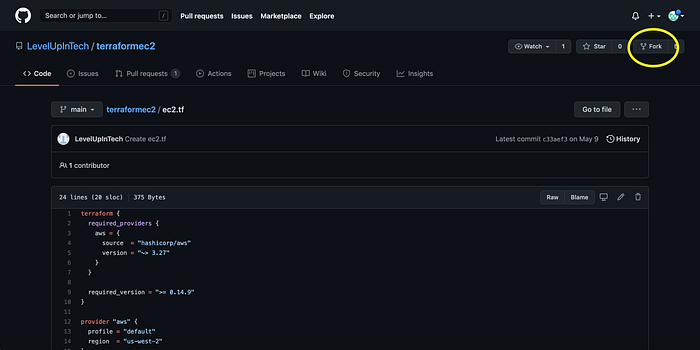
First I forked a “create ec2” repository from my Level Up In Tech course’s Github account (Image 1).
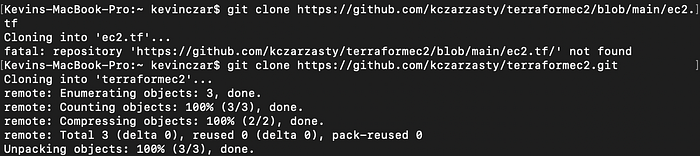
Then in Terminal I confirmed that I was in my home directory, and I used the command git clone https://github.com/kczarzasty/terraformec2.git to clone the forked repo (Image 2).
Then I confirmed that I had a new working directory named “terraformec2” by changing into that directory (Image 3).

STEP 2: Module Setup
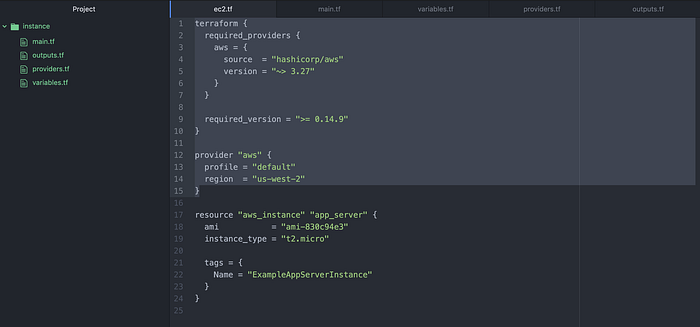
Now that the repository was set, I needed to set up my files for the module. Within the “terraformec2” directory, I made a new directory called “instance,” and therein I created my main.tf, outputs.tf, providers.tf, and variables.tf files (Image 4).

We then needed to transfer the resource and provider section of ec2.tf to our new providers.tf of our instance module, and so I did so in Atom as seen in Image 5 & 6.

I then copied the instance resource from ec2.tf and pasted it in main.tf to be the provider (Image 7).

I then cleared the information in ec2.tf, and replaced it with , as it will be our module file intaking code from the other files.

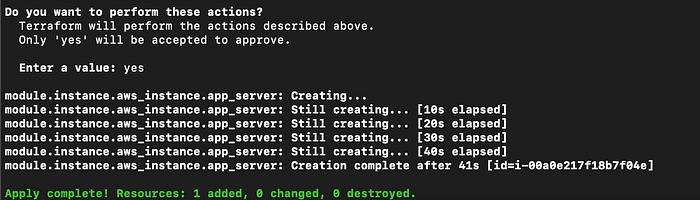
I then changed directories back one by using the command cd ../. Once in the terraformec2 directory, I ran the following respectively to ensure my EC2 Instance was being created: terraform init, terraform fmt, terraform validate, terraform plan, terraform apply. Our successful result after typing “yes” to confirm terraform apply is shown in Image 9.
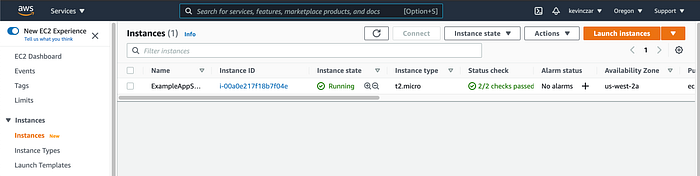
I confirmed in the my AWS Console that the EC2 instance had been created in region us-west-2 (Image 10).
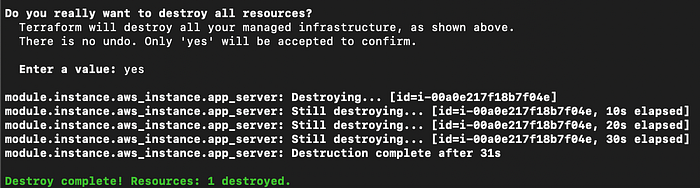
We no longer needed this instance (it was just a test), so I then ran the command terraform destroy and typed “yes” to confirm the action (Image 11).
At this point we had successfully set up the module, but as it stands at this point in the article, it is just a simple EC2 module offering no variability.
STEP 3: Variables
So now added variables to the module so that we can adjust the EC2 Instance in the future as needed.
First I took the three original resources & made appropriate variables for each in variables.tf (Image 12).
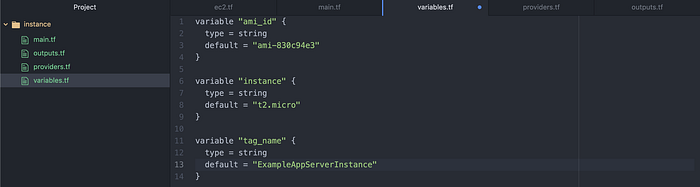
I then referenced these variables in main.tf, (Image 13) where main.tf formly had the fixed values set.

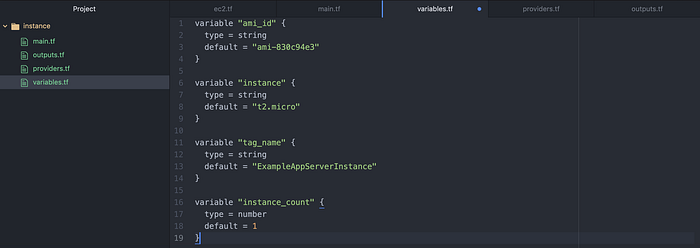
I then added a variable to variables.tf so that in the future we can specify how many instances we want to create (Image 14).
Then in ec2.tf I added a line for Instance Count and made it equal to 2 (Image 15).

Then I made an adjustment. I was concerned that, when launching multiple EC2 instances, it would be difficult to differentiate between instances. Therefore in main.tf I wrote Line 6 so that the Instance Count would be indicated in the name. Note I also wrote +1 because the instance count starts at zero (Image 16).

STEP 4: Outputs
Now that our module was increasingly customizable through the use of variables, I wrote my outputs.tf file which govern what information is printed in Terminal after successful terraform apply.
I elected to clarify Public IPs and EC2 Tags by writing in outputs.tf as seen in Image 17.

I then wrote the desired outputs in a new rootoutputs.tf in /terraformec2 to go along with the ec2.tf module (Image 18).

I now wanted to pause and ensure the module was working. When I ran terraform validate, I discovered that my count index was invalid (Image 19).

I then resolved this issue by adding Line 4 to main.tf as seen in Image 20.

I then re-ran terraform validate, and this time everything was valid (Image 21).

I then ran terraform apply and confirmed “yes.” Image 22 shows that the resources were created and our outputs from rootoutputs.tf were printed.

I then ran terraform destroy again, so as to avoid running these resources, accruing costs, etc.
STEP 5: Github
Now we’ve made our custom module. This would be a great tool to reuse in the future, so we will push it to Github.
To do so I first made a .gitignore file in the root directory so as to ignore files that I didn’t want pushed (Image 23).

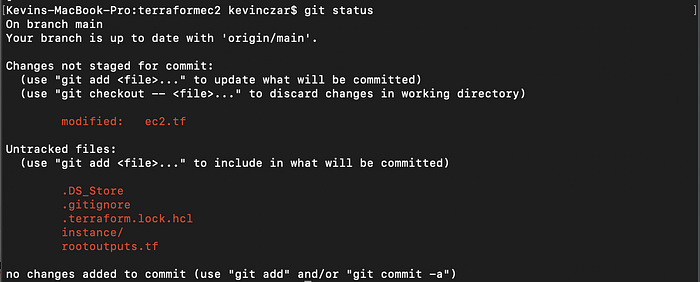
To ensure all files were set, I ran the command git status (Image 24).
To stage my files I ran the following command as seen in Image 25 to include all files that weren’t tracked or staged were ready.
git add ec2.tf .DS_Store .gitignore .terraform.lock.hcl instance/ rootoutputs.tf

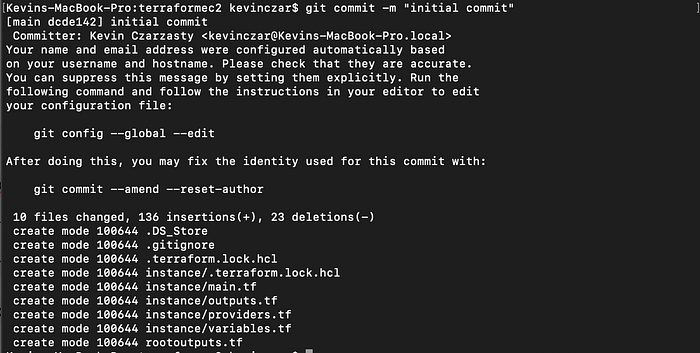
I then ran the command git commit -m “initial commit” to commit my files (Image 26).
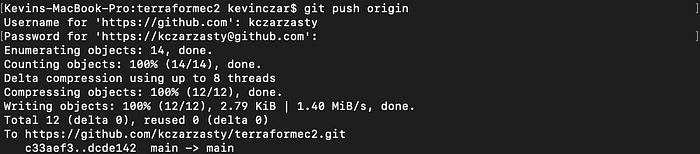
I then used the command git push origin to push the files to my Github (Image 27).
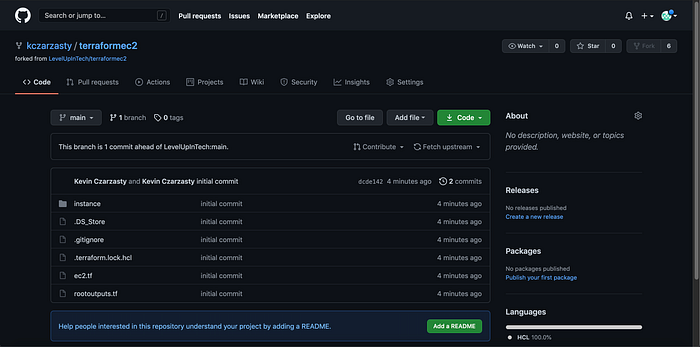
I then confirmed in my Github that the custom EC2 module and all relevant files were there, and indeed they were (Image 28).
Thanks for reading.
Credit: Level Up In Tech as was credited in the body of the article.